

Have you ever wondered if you can toss your kitchen scraps into a blender and use them in your garden? It sounds simple and smart, right?
But before you start blending, there are important things you need to know. Using kitchen scraps the right way can boost your garden’s health and save you money. Keep reading, and you’ll discover how to turn those leftover peels and bits into garden gold—without making a mess or harming your plants.
Your garden will thank you!
Using Kitchen Scraps For Gardening
Using kitchen scraps for gardening is a smart way to reduce waste and improve soil health. Many leftover vegetable peels, fruit cores, and coffee grounds have nutrients plants love. Blending these scraps can speed up the breakdown process, making nutrients easier for plants to absorb. This method turns ordinary waste into a natural, rich fertilizer that helps your garden grow strong and healthy.
Benefits Of Kitchen Scraps
- Enrich soil with essential nutrients like nitrogen and potassium.
- Promote healthy plant growth and vibrant leaves.
- Reduce the need for chemical fertilizers and pesticides.
- Help retain soil moisture, reducing watering frequency.
- Lower household waste, supporting eco-friendly living.
Types Of Scraps Suitable For Blending
- Vegetable peels such as carrot, potato, and cucumber skins.
- Fruit scraps like apple cores, banana peels, and citrus rinds.
- Used coffee grounds and tea leaves for added nitrogen.
- Eggshells, crushed finely to add calcium to soil.
- Wilted herbs and leafy greens that are free from disease.

Credit: www.youtube.com
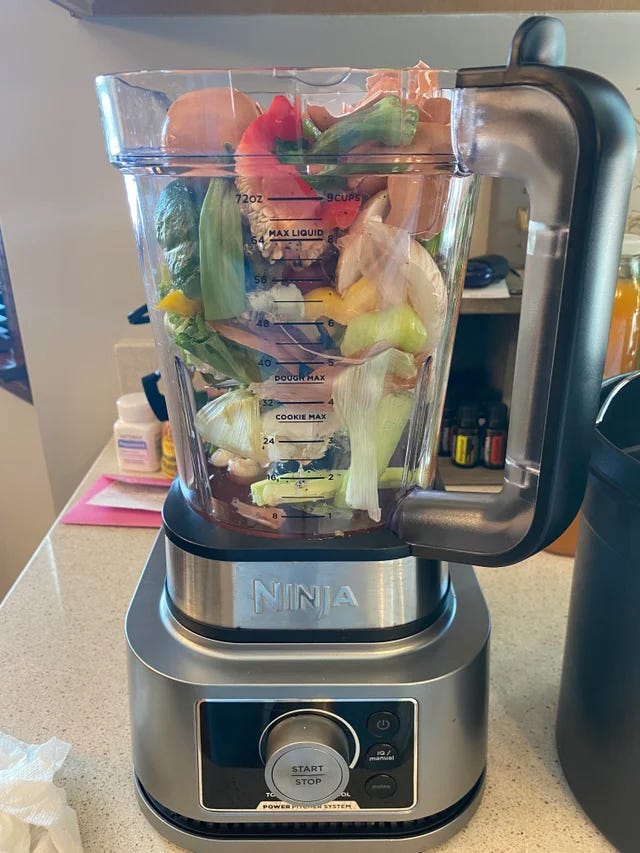
Blending Scraps Safely
Blending kitchen scraps can be a quick way to create nutrient-rich liquid for your garden, but it requires care to avoid damaging your blender or creating a mess. Understanding how to blend scraps safely helps you protect your equipment and ensures the best results for your plants. Let’s look at the key steps to prepare your scraps and adjust your blender settings properly.
Preparing Scraps For The Blender
Start by sorting your kitchen scraps. Remove any hard items like bones, shells, or large fruit pits that can dull blades or cause jams.
Cut scraps into small, uniform pieces. This helps the blender process everything evenly without overworking the motor.
Drain excess liquids such as soups or sauces before blending. Too much liquid can create splashes and reduce the mixture’s thickness, which you may not want for your garden.
Have you ever tried blending large chunks only to hear your blender struggle or stop? Keeping scraps manageable avoids that frustration.
Blender Settings And Tips
- Start slow:Use the lowest speed setting to break down scraps gently before increasing speed.
- Pulse option:Use short pulses to control texture and prevent overheating.
- Add water carefully:A small amount helps blend but avoid flooding the blender.
- Check temperature:If the blender feels hot, pause and let it cool to prevent damage.
Remember, not all blenders are built for tough scraps. If yours is a basic model, blending smaller batches can extend its life and improve your garden mixture.
Creating Nutrient-rich Compost
Blending kitchen scraps helps break them down faster for composting. This creates nutrient-rich compost that feeds garden plants well. Small, blended pieces decompose quickly, improving soil health.
Creating nutrient-rich compost starts in the kitchen. Blending kitchen scraps can transform waste into valuable plant food. A blender breaks down scraps, speeding up decomposition. This creates a fine mix that enriches garden soil.
How Blended Scraps Enhance Compost
Blended scraps decompose faster. Smaller pieces increase surface area. This allows microbes to work efficiently. Nutrients become available to plants sooner. Blending also improves moisture distribution. Compost stays balanced and healthy.
Avoiding Common Composting Mistakes
Avoid adding meat or dairy to the blender. These attract pests and cause odors. Keep a good balance of greens and browns. Too much of one type slows down decomposition. Remember to turn the compost pile regularly. This ensures even breakdown of materials.
Direct Use In The Garden
Using blended kitchen scraps directly in the garden is a simple way to recycle food waste. Blending scraps breaks them down into small pieces. This helps the soil absorb nutrients faster. It also speeds up decomposition, feeding plants quickly. Direct use saves time compared to traditional composting.
Blended scraps add organic matter to the soil. This improves soil texture and moisture retention. Plants get a natural boost of nutrients from the scraps. The process supports healthy plant growth and stronger roots.
Applying Blended Scraps As Fertilizer
Spread the blended scraps thinly over garden soil. Avoid piling up thick layers to prevent bad smells. Lightly mix the scraps into the topsoil with a garden fork. This helps microbes break down the material faster.
Use blended scraps around vegetable plants, flowers, or shrubs. They release nutrients slowly as they decompose. Water the soil after applying to help nutrients soak in. Repeat the process every few weeks during the growing season.
Precautions For Plant Health
Do not use blended scraps containing meat, dairy, or oils. These can attract pests and cause disease. Avoid using spoiled or moldy scraps as they harm plants.
Keep blended scraps away from plant stems and leaves. Direct contact may cause rot or fungal problems. Always wash hands after handling scraps to prevent contamination.
Test on a small garden area first. Watch plants for any signs of stress. Stop use if plants show poor growth or damage.
Alternatives To Blending
If you’re wondering about blending kitchen scraps for your garden, it’s good to know there are other practical ways to handle organic waste. Blending isn’t the only route, and sometimes it’s not the best. Let’s look at some alternatives that can make your garden thrive without extra effort or equipment.
Traditional Composting Methods
Composting is one of the easiest ways to turn kitchen scraps into rich soil. You just need a compost bin or a small pile in your backyard. Add vegetable peels, coffee grounds, eggshells, and garden waste.
Keep the pile moist and turn it occasionally to let air in. This helps break down the scraps faster and prevents bad smells. Over a few months, you’ll get nutrient-rich compost that your plants will love.
Have you tried layering green and brown materials in your compost? It balances moisture and speeds up decomposition. Green materials include fresh scraps, while brown materials are dry leaves or cardboard.
Other Ways To Recycle Kitchen Waste
- Vermicomposting:Using worms to break down kitchen scraps is faster and cleaner. Worms eat organic waste and produce castings, which are excellent natural fertilizers.
- Bokashi Composting:This method ferments kitchen waste using special microbes in a sealed container. It’s great if you want to compost meat and dairy scraps, which traditional composting avoids.
- Direct Soil Burial:Dig a small hole in your garden and bury small amounts of kitchen scraps. This feeds microorganisms directly in the soil, but avoid large pieces that take longer to decompose.
- Make Liquid Fertilizer:Soak kitchen scraps like vegetable peels in water for a few days. Strain the mix and use the liquid to water your plants for a quick nutrient boost.
Which of these options fits your garden style and daily routine? Trying different methods can help you find what works best for you and your plants. Remember, handling kitchen waste doesn’t have to be complicated to be effective.

Credit: growingorganic.com
Maintaining Your Blender
Keeping your blender in good shape is important, especially when using it for kitchen scraps. Proper maintenance helps the blender last longer and work better. It also keeps your kitchen fresh and clean. Regular care stops smells and leftover bits from building up inside.
Cleaning After Blending Scraps
Clean the blender right after use to prevent scraps from drying. Fill the blender halfway with warm water and a drop of dish soap. Turn it on for 20 to 30 seconds. Rinse with clean water to remove soap and scraps. Wipe the base with a damp cloth, never submerge it in water. Remove and clean the blade carefully to avoid injury. Dry all parts before putting the blender away.
Preventing Odors And Residue
Odors can stay in the blender if scraps are not cleaned well. Use a mix of baking soda and water to scrub the jar. Let it sit for 10 minutes, then rinse thoroughly. Lemon juice also works well to remove smells. Run the blender with lemon juice and water for a fresh scent. Store the blender with the lid off to allow air circulation. Check for any food stuck in crevices and clean regularly.

Credit: stusshed.wordpress.com
Frequently Asked Questions
Can I Blend Kitchen Scraps For Garden Compost?
Yes, blending kitchen scraps helps break them down faster for compost. It speeds up decomposition and enriches garden soil efficiently.
Which Kitchen Scraps Are Safe To Blend For Plants?
Vegetable peels, fruit scraps, and coffee grounds are safe. Avoid meat, dairy, and oily foods as they attract pests and smell.
How Often Should I Blend Scraps For My Garden?
Blend scraps whenever you have enough organic waste. Regular blending keeps compost fresh and supports continuous nutrient supply to plants.
Will Blending Scraps Reduce Kitchen Waste Smell?
Yes, blending scraps into smaller pieces reduces odor. It helps scraps decompose quickly, minimizing unpleasant smells in your kitchen or compost bin.
Conclusion
Blending kitchen scraps can help your garden grow better. Small pieces break down faster in soil. Avoid adding meat or dairy to prevent pests. Use vegetable and fruit leftovers for best results. This method saves waste and feeds plants naturally.
Try it carefully and watch your garden thrive. Simple steps lead to greener, healthier plants. Give it a try and enjoy fresh growth.


