


Are your kitchen drawers a constant mess? Finding the right utensil or tool can feel like a frustrating scavenger hunt.
Imagine opening your drawer and instantly spotting everything you need, neatly arranged and easy to grab. You can make that happen by creating your own kitchen drawer organizer. It’s simpler than you think, and once you have one, your daily cooking will become smoother and more enjoyable.
Keep reading, and you’ll discover easy steps to transform your cluttered drawers into perfectly organized spaces.
Benefits Of Kitchen Drawer Organizers
Organizing your kitchen drawers can seem like a small change, but it brings a surprising number of benefits that improve your daily cooking and cleaning experience. Having a designated place for every utensil and tool saves time and reduces frustration. It also helps maintain a tidy kitchen, making it a more pleasant space to work in.
Improved Efficiency And Time-saving
When your kitchen drawers are organized, you spend less time searching for what you need. Imagine opening a drawer and instantly finding your favorite spatula or measuring spoons without digging through clutter. This simple change speeds up meal prep and cleanup, giving you more time for yourself.
Have you ever wasted minutes trying to locate a single tool? A well-organized drawer eliminates that frustration entirely.
Maximizes Drawer Space
Kitchen drawer organizers help you use every inch of space effectively. Without them, drawers often become jumbled messes where items overlap and get lost. Organizers create compartments that fit your utensils perfectly, allowing you to store more in the same space.
Think about how many extra tools you could fit if everything had its own spot. This makes your kitchen look and feel more spacious.
Reduces Stress And Clutter
Clutter can create unnecessary stress, especially in a busy kitchen. An organized drawer provides a calm, neat environment where you know exactly where to find what you need. This can make cooking and cleaning feel less overwhelming.
Does your drawer currently cause frustration? Organizers turn chaos into calm, helping you enjoy your time in the kitchen more.
Protects Your Utensils And Tools
Loose utensils banging against each other can lead to damage like scratches or bent handles. Drawer organizers keep your tools separated and secure, extending their lifespan. This means you save money by not having to replace damaged items frequently.
Have you ever found a bent knife or scratched spoon? Organizers help prevent that by keeping everything in place.
Enhances Kitchen Aesthetics
A tidy drawer looks better every time you open it. Organized spaces can even inspire you to keep other areas of your kitchen clean and orderly. Plus, seeing everything neatly arranged gives a sense of satisfaction each day.
How often do you open your drawers and smile at the neatness inside? Drawer organizers can make that happen regularly.

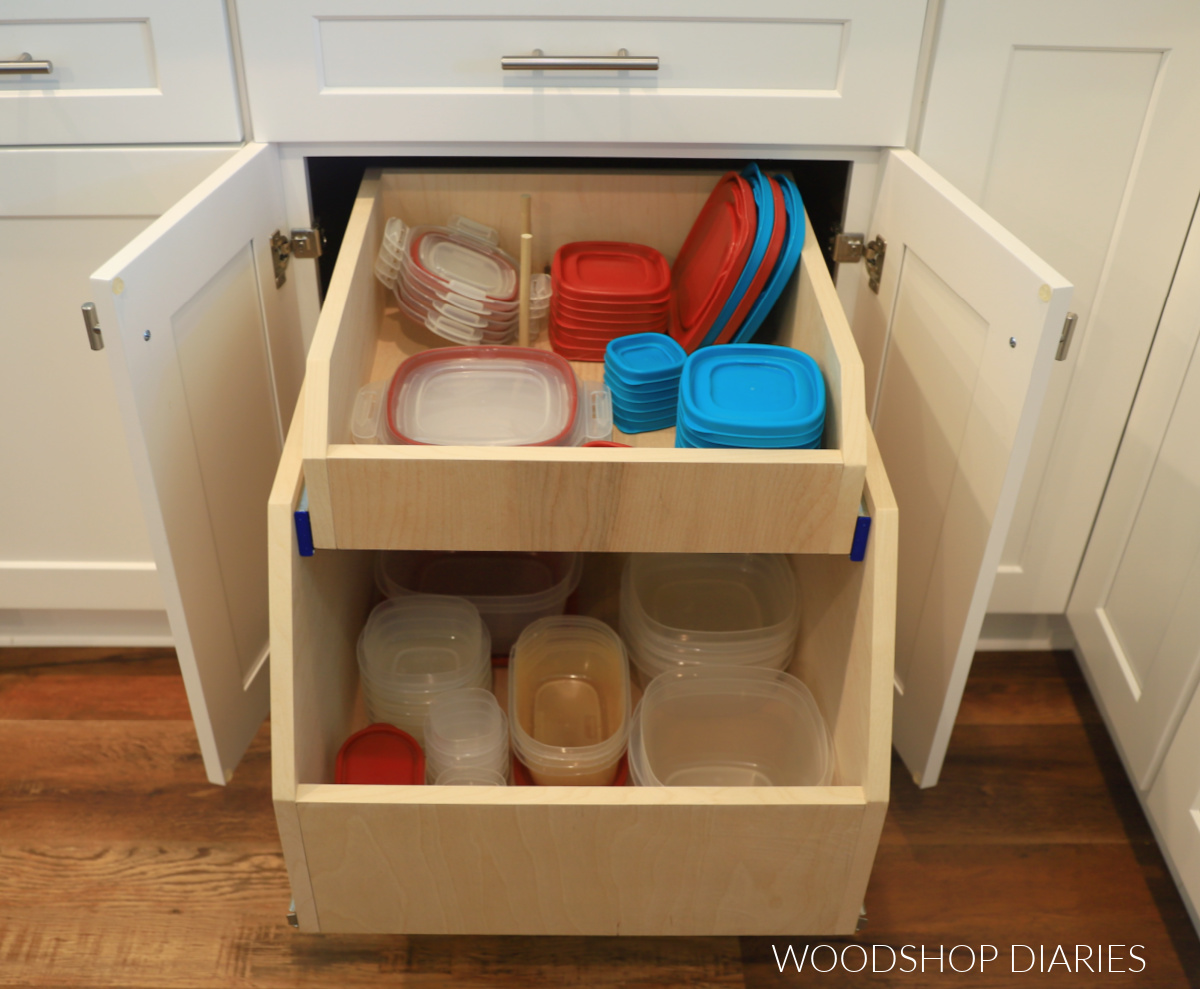
Credit: www.woodshopdiaries.com
Materials Needed For Diy Organizer
Gathering the right materials is key to making a kitchen drawer organizer that fits perfectly and lasts long. Choosing quality supplies will save you time and frustration during the build. Think about what you have on hand and what you’ll need to buy before starting.
Wood Or Acrylic Panels
Wood is a popular choice because it’s sturdy and easy to customize. Pine or plywood sheets work well if you want a natural look. Acrylic panels offer a modern style and are easy to clean, but they can be more fragile.
Have you checked the thickness of your wood? Thicker panels add durability but reduce internal drawer space.
Measuring Tools
Accurate measurements prevent mistakes that waste materials. A tape measure and a ruler are essential. A square tool helps keep corners perfect and your cuts straight.
Double-check your drawer size before cutting anything. What’s the drawer’s exact width, depth, and height?
Cutting Tools
A handsaw or jigsaw works well for cutting wood or acrylic to size. If you have access to a table saw, that speeds up the process and improves precision. Sandpaper or a sanding block smooths rough edges and prevents splinters.
Do you have a safe place to cut your materials? A stable surface is crucial for neat cuts.
Joining Supplies
Wood glue is great for a clean, strong bond without visible nails. Small finishing nails or screws add extra strength, especially for heavier organizers. Consider clamps to hold pieces firmly while glue dries.
How steady is your workspace for gluing? Clamps can make all the difference.
Finishing Materials
Paint or wood stain personalizes your organizer and protects it from moisture. A clear sealant adds durability, especially in a kitchen environment. Brushes or foam applicators help you apply finishes evenly.
What color or finish matches your kitchen style? A little planning here boosts your organizer’s appeal.
Optional Divider Inserts
- Thin wooden strips or acrylic pieces to create compartments
- Adjustable dividers for flexible storage
- Soft liners to protect delicate utensils
Think about what you usually store. Would fixed or adjustable compartments work better for your needs?
Choosing The Right Organizer Design
Choosing the right design for your kitchen drawer organizer is key to keeping your space tidy. The design affects how well your utensils fit and how easy it is to find them. Think about your drawer size and the types of items you want to store. Organizers can be simple or complex, but they must suit your daily needs.
Custom Fit Vs. Modular Inserts
Custom fit organizers are made to match your drawer’s exact size. They use every inch of space efficiently. This option works best if you have many specific utensils or odd-shaped tools.
Modular inserts come in standard sizes. You can mix and match these pieces to create your layout. They offer flexibility and are easy to rearrange or replace later. Choose modular if you want a quick, adaptable solution.
Wood, Plastic, Or Metal Options
Wood organizers add a warm, natural look to your kitchen. They feel sturdy and last long. Wood can be customized with different finishes.
Plastic organizers are lightweight and often cheaper. They come in many colors and designs. Plastic is easy to clean and resists moisture well.
Metal options are strong and modern. They resist damage and look sleek. Metal organizers work great in industrial or minimalist kitchen styles.
Step-by-step Building Process
Creating a custom kitchen drawer organizer can transform your cooking space. This guide will help you build a functional organizer with simple steps. Let’s dive into the process and make your kitchen more efficient.
Measuring Your Drawer Space
Start by measuring the width, length, and depth of your drawer. Use a measuring tape for accuracy. Make sure to leave room for the organizer to fit easily. Note down these measurements for reference.
Cutting And Preparing Materials
Choose materials like wood or acrylic for durability. Using your measurements, mark the material for cutting. Use a saw to cut the pieces carefully. Sand the edges to smooth any rough spots.
Assembling The Organizer
Arrange the cut pieces to form the organizer’s shape. Use wood glue or screws to secure the pieces together. Ensure each section is aligned properly. Check for stability before moving to the next step.
Finishing Touches And Installation
Apply a finish to protect the material and enhance its look. Paint or varnish works well for wood. Once dry, place the organizer inside the drawer. Adjust as needed to fit snugly.
Tips For Maintaining A Clutter-free Drawer
Keeping your kitchen drawer organized is easier than you think. The key lies in simple habits that prevent clutter from building up again. Let’s look at some practical tips that help you maintain a tidy and efficient drawer every day.
Regular Decluttering Habits
Set a reminder to check your drawer once a week or once a month. Take a few minutes to remove any items that don’t belong or are no longer needed. This quick habit stops clutter from piling up and keeps your space functional.
Ask yourself: Are all these utensils or tools really necessary? If something hasn’t been used in months, consider donating or storing it elsewhere. This keeps only the essentials within easy reach.
Labeling Sections
Labels help you and others quickly find what goes where. Use simple stickers or tags to mark sections for utensils, gadgets, or spices. This visual guide reduces the chance of items being misplaced.
Try labeling with clear, readable fonts and place the labels where you can easily see them. It’s a small step that saves time and maintains order, especially when multiple people use the kitchen.
Adapting Organizers Over Time
Your needs change, and so should your drawer setup. If you start cooking different meals or add new kitchen tools, adjust your organizers to fit these changes. Flexibility ensures your system stays practical and useful.
Don’t hesitate to swap out dividers or add new compartments as needed. Have you noticed certain sections getting crowded or empty? That’s a sign to rethink your layout and keep your drawer working for you.

Credit: www.youtube.com
Creative Organizer Ideas For Different Drawers
Organizing kitchen drawers brings calm to busy cooking spaces. Creative organizers fit each drawer’s unique needs. They help find items fast and keep kitchens tidy. Small changes make a big difference in daily meal prep.
Different drawers need different organizing styles. Tools, spices, and gadgets each require smart solutions. Customizing organizers saves space and improves kitchen flow.
Utensil Drawers
Use dividers to separate spoons, forks, and knives. Choose adjustable trays to fit various utensil sizes. Consider angled slots to keep knives safe and visible.
- Wooden or plastic compartments fit snugly inside drawers
- Non-slip liners prevent items from sliding
- Stackable trays add extra layers for small tools
Spice And Condiment Storage
Arrange spices in tiered racks for easy access. Label jars clearly to find flavors quickly. Use magnetic strips on drawer sides for metal containers.
- Small jars fit best in shallow trays
- Pull-out spice racks save counter space
- Clear containers show contents at a glance
Miscellaneous Kitchen Tools
Gather odd items like peelers, scissors, and measuring spoons in divided bins. Use small baskets or cups to keep gadgets upright. Sort items by use to avoid clutter.
- Use elastic bands to bundle similar tools
- Repurpose ice cube trays for tiny parts
- Label sections to maintain order over time
Credit: www.woodshopdiaries.com
Frequently Asked Questions
What Materials Do I Need For A Kitchen Drawer Organizer?
You need wood, dividers, measuring tape, screws, and a drill. Optional items include paint and liners for customization and durability.
How Do I Measure My Drawer For The Organizer?
Measure the drawer’s width, depth, and height accurately. Use these dimensions to design dividers that fit perfectly inside.
Can I Customize Drawer Organizers For Different Utensils?
Yes, customize compartments based on utensil sizes and types. This keeps everything organized and easy to find.
How Long Does It Take To Make A Drawer Organizer?
It usually takes 1 to 3 hours depending on complexity. Simple designs are quicker, while custom builds take longer.
Conclusion
Making a kitchen drawer organizer is simple and useful. It helps keep your kitchen neat and tools easy to find. You can use basic materials and a little time. Organizing your drawers saves space and reduces clutter. Try different designs to fit your needs.
Small changes make a big difference. Start today and enjoy a tidier kitchen tomorrow.


