


Are you tired of cluttered countertops and messy cabinets? Imagine having a sturdy, stylish kitchen rack that fits perfectly in your space—and that you made yourself.
Building your own kitchen rack at home is easier than you think. Not only will it save you money, but it also gives you full control over the size, design, and materials. In this guide, you’ll discover simple steps to create a kitchen rack that’s both functional and beautiful.
Ready to transform your kitchen and enjoy a more organized space? Let’s get started!
Choosing The Right Materials
Choosing the right materials is key to building a sturdy kitchen rack at home. The materials affect the rack’s strength, look, and durability. Picking good materials helps your rack last longer and hold more weight. It also makes the building process easier.
Types Of Wood And Metal
Wood and metal are popular choices for kitchen racks. Each has its benefits and suits different styles.
- Wood:Pine, oak, and plywood are common woods. Pine is soft and easy to cut. Oak is strong and lasts long. Plywood is affordable and stable.
- Metal:Steel and aluminum are good options. Steel is very strong but heavier. Aluminum is lighter and resists rust well.
Choose wood for a warm, natural look. Pick metal for a modern, industrial style.
Tools You Will Need
Gather the right tools before starting your project. Using proper tools makes the work safer and more precise.
- Measuring tape
- Saw (hand saw or power saw)
- Drill with drill bits
- Screwdriver
- Sandpaper
- Clamps
- Level
Having these tools ready saves time and helps build a better rack.
Safety Gear Essentials
Safety gear protects you during the building process. Always wear protective equipment.
- Safety goggles to shield your eyes
- Work gloves to protect your hands
- Dust mask to avoid inhaling sawdust
- Ear protection if using loud tools
Wearing safety gear prevents injuries and keeps the project enjoyable.
Planning Your Kitchen Rack
Planning your kitchen rack is the key to making a useful and sturdy storage solution. It saves time, money, and effort during building. Careful planning helps fit the rack perfectly in your kitchen space. It also ensures the rack can hold your kitchen items safely and neatly.
Start by understanding the space and your storage needs. Think about what items you want to store and how easy it should be to reach them. A well-planned rack looks good and works well every day.
Measuring Your Space
Measure the area where you want to place the kitchen rack. Use a tape measure for length, width, and height. Write down these numbers clearly. Check for obstacles like switches, pipes, or windows. Leave some extra space for air and cleaning. Accurate measurements prevent mistakes and wasted materials.
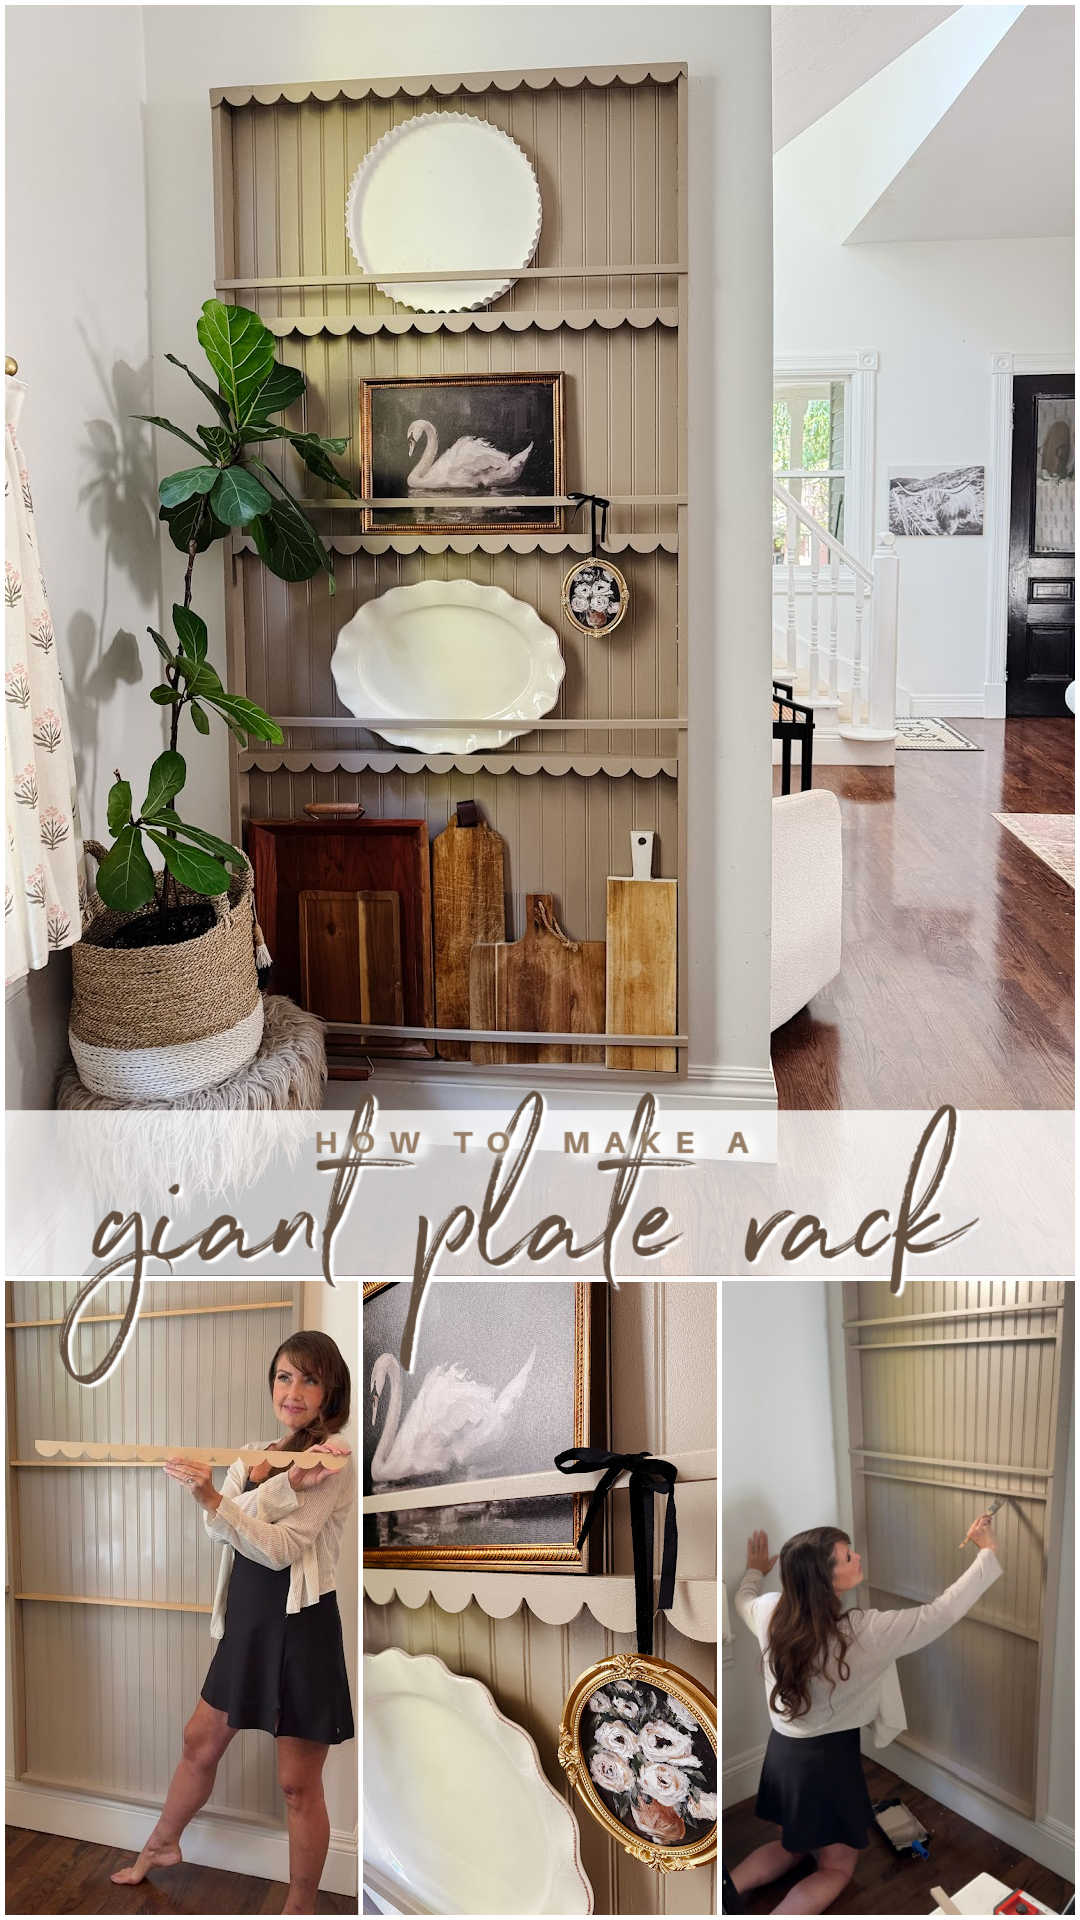
Design Ideas For Beginners
Choose simple designs with straight lines and open shelves. Use basic shapes like rectangles or squares. Consider the materials you have or can buy easily. Think about the rack’s purpose: hold pots, spices, or plates. Focus on making the rack strong and easy to use. Bright colors or natural wood finish can add charm without complexity.
Sketching Your Rack Blueprint
Draw a rough sketch of your rack on paper or use a digital tool. Include all measurements and shelf levels. Mark where screws or nails will go. Plan the height of each shelf to fit your items well. Keep the design clear and simple. This blueprint guides you step-by-step during building.
Cutting And Preparing Parts
Cutting and preparing the parts is a crucial phase in building your kitchen rack. This step sets the foundation for a sturdy and well-fitted structure. Precision here means fewer adjustments later and a cleaner finish on your project.
Marking Measurements Accurately
Start by double-checking your measurements before marking your wood or metal pieces. Use a reliable tape measure and a sharp pencil or a fine-tip marker for clear lines.
Mark all cuts on the same side to avoid confusion. Consider using a square ruler to ensure your lines are perfectly straight and your angles exact. Have you ever measured twice and still cut wrong? Taking time here saves frustration later.
Cutting Techniques For Wood And Metal
Choose the right tool for the material to get clean cuts. For wood, a handsaw or circular saw works well depending on the thickness and type of wood you have.
When cutting metal, a hacksaw or an angle grinder fitted with a cutting disc will give you precision. Keep the blade steady and move slowly to avoid jagged edges. Wear safety goggles to protect your eyes from flying debris.
Sanding And Smoothing Edges
After cutting, rough edges are common and can cause splinters or scratches. Use sandpaper or a sanding block with medium grit to smooth out all cut edges.
For metal parts, a metal file or an abrasive pad works best to remove burrs. Take your time here—smooth edges not only look professional but also make your kitchen rack safer to handle and use.

Credit: www.aol.com
Assembling The Rack
Begin by joining the frame pieces securely using screws or nails. Ensure all parts fit tightly to keep the rack stable and strong. Check alignment before tightening everything completely.
Assembling a kitchen rack at home is a rewarding project. This section guides you through joining, aligning, and adding shelves. Use proper tools and follow these steps carefully.
Joining Techniques And Fasteners
Use nails, screws, or brackets to join the parts. Choose fasteners based on material type. Wood glue adds strength to joints. Ensure all pieces fit snugly. Use a drill for pilot holes to prevent splitting.
Aligning And Securing Components
Align all components properly before fastening. Use a level to check for evenness. Secure each joint tightly. Double-check measurements to avoid errors. Tighten screws firmly for a stable structure.
Adding Shelves And Supports
Install shelves between the side panels. Use brackets for extra support. Ensure shelves are level and secure. Attach supports underneath for added stability. Check weight capacity to prevent sagging.
Finishing Touches
Adding the final details to your kitchen rack transforms it from a simple structure into a stylish, functional piece. These finishing touches not only enhance the look but also improve the rack’s longevity and usability. Paying attention to these elements ensures your hard work stands out and lasts through daily kitchen use.
Painting And Staining Options
Choosing the right color or stain sets the mood for your kitchen. Bright paints can add a pop of color, while natural stains highlight the wood’s grain for a classic look.
Consider using chalk paint for a matte, vintage feel or a glossy enamel for a sleek finish. If you want a rustic vibe, try a light walnut or oak stain. Testing samples on scrap wood helps you avoid surprises and pick what really fits your style.
Sealing For Durability
Sealing your rack protects it from moisture, stains, and wear. A clear polyurethane coat is a popular choice because it dries fast and offers strong protection.
If your rack will hold heavy or wet items, think about using multiple thin coats. This creates a tough barrier without hiding the wood’s texture. Don’t forget to sand lightly between coats for a smooth finish.
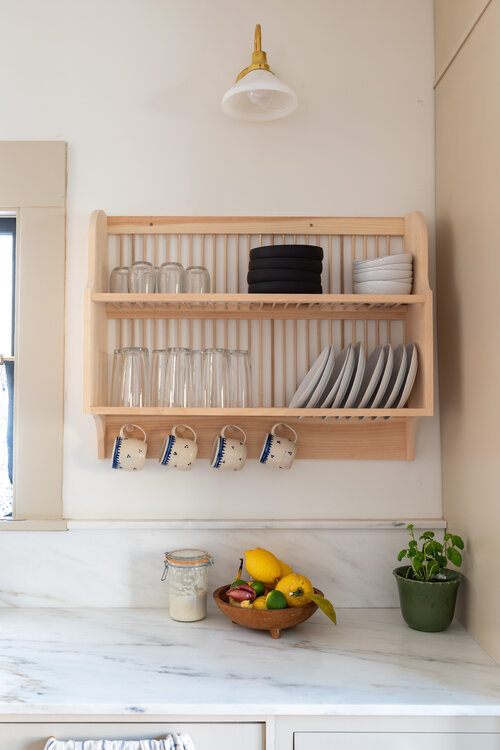
Installing Hooks And Accessories
Adding hooks can turn your rack into a multi-purpose organizer. Hooks are perfect for hanging mugs, utensils, or even small pots.
Consider magnetic strips for knives or spice racks that clip on. These small additions keep your kitchen tools within easy reach and free up counter space. What items do you reach for most while cooking? Adding hooks for those can make your kitchen routine smoother.
Credit: www.thegoldhive.com
Installing Your Kitchen Rack
Installing your kitchen rack properly is crucial to make sure it holds up well and serves its purpose efficiently. Taking the time to mount it securely and organize your items thoughtfully can make a big difference in your kitchen’s functionality. Let’s look at some key tips to help you install your rack with confidence and safety.
Wall Mounting Tips
Start by choosing a sturdy wall that can support the weight of your rack and the items you plan to store. Use a stud finder to locate the wall studs, as these provide the strongest anchor points. Avoid mounting directly on drywall without support; it won’t hold heavy loads.
Mark your drilling spots carefully and use a level to keep the rack straight. Pre-drill holes to make screwing easier and prevent the wall from cracking. If you’re unsure about the type of screws or anchors, ask at your hardware store for ones rated for your rack’s weight.
Ensuring Stability And Safety
After mounting, give your rack a good shake to check for any wobbling. If it moves, tighten the screws or consider adding extra brackets for support. Stability isn’t just about safety—it also prevents your items from falling and breaking.
Think about what you’ll store and distribute the weight evenly. Heavy pots or jars should go on lower shelves to reduce the risk of the rack tipping. If you have kids or pets, make sure the rack is out of their reach or securely fastened to avoid accidents.
Organizing Items Efficiently
Use your kitchen rack to simplify your daily routine. Place frequently used items at eye level for easy access. Reserve the top shelves for things you use less often, like seasonal cookware or spare supplies.
Group similar items together—spices in one corner, baking essentials in another. Adding small baskets or containers can keep smaller items from cluttering the shelves. Have you ever wasted time searching for a lid or measuring cup? Organizing your rack can solve that problem and save you frustration.
Credit: tatertotsandjello.com
Frequently Asked Questions
What Materials Are Needed To Make A Kitchen Rack At Home?
You need wood, screws, nails, a saw, drill, measuring tape, and sandpaper. Choose durable wood like plywood or pine for strength and aesthetics.
How Much Time Does It Take To Build A Kitchen Rack?
Building a kitchen rack typically takes 3 to 5 hours depending on design complexity and skill level. Simple racks can be done faster.
Can I Customize The Size Of The Kitchen Rack?
Yes, kitchen racks are fully customizable. Measure your available space and adjust dimensions accordingly before cutting materials.
What Tools Are Essential For Making A Kitchen Rack?
Essential tools include a saw, drill, screwdriver, hammer, measuring tape, and level. These help ensure precise cuts and sturdy assembly.
Conclusion
Making a kitchen rack at home saves money and space. You only need simple tools and materials. Follow each step carefully for best results. A homemade rack keeps your kitchen neat and organized. It fits your style and kitchen size perfectly.
Try this project to add more storage easily. Enjoy a tidy kitchen with your own rack.


