

Are your kitchen cabinet drawers sticking, squeaking, or not sliding smoothly? It’s frustrating when your drawers don’t work the way they should, especially when you need quick access to your kitchen essentials.
But the good news is, fixing your cabinet drawer slides is easier than you think. In this guide, you’ll discover simple steps to repair and maintain your drawer slides, so they glide like new again. Keep reading, and you’ll be able to tackle this common problem yourself—no need to call a handyman or spend a fortune.
Your kitchen drawers will thank you!
Credit: www.tallsen.com
Identify Common Drawer Slide Issues
Identifying common drawer slide issues is the first step toward fixing your kitchen cabinet drawers effectively. Without knowing the exact problem, you might waste time replacing parts that don’t need attention. Let’s look at some key areas to check before diving into repairs.
Check For Misalignment
Misaligned drawer slides often cause drawers to stick or not close properly. Open your drawer and observe if it moves smoothly or if it veers to one side. Sometimes, simply loosening the screws and repositioning the slides can solve the problem.
Have you noticed your drawer scraping against the cabinet edge? That’s a clear sign of misalignment. It’s easy to fix but easy to overlook if you don’t examine it closely.
Inspect For Damage Or Wear
Over time, drawer slides can become bent, cracked, or rusty. Look closely at both the slides attached to the drawer and the ones inside the cabinet. Damaged rollers or missing parts can cause uneven movement or complete failure.
Think about the last time you cleaned behind your cabinets. Dust and grime can hide damage that affects performance. Sometimes, a thorough cleaning reveals issues that you can fix without replacing the entire slide.
Assess Drawer Weight And Load
Heavy drawers or those overloaded with items strain the slides and cause premature wear. Consider what’s inside your drawer and whether the slides are rated to support that weight. If your kitchen tools or utensils have multiplied, your slides might be struggling silently.
Ask yourself: Are you pushing the limits of what your cabinet hardware can handle? Choosing slides with higher weight capacities can prevent recurring problems and make daily use smoother.
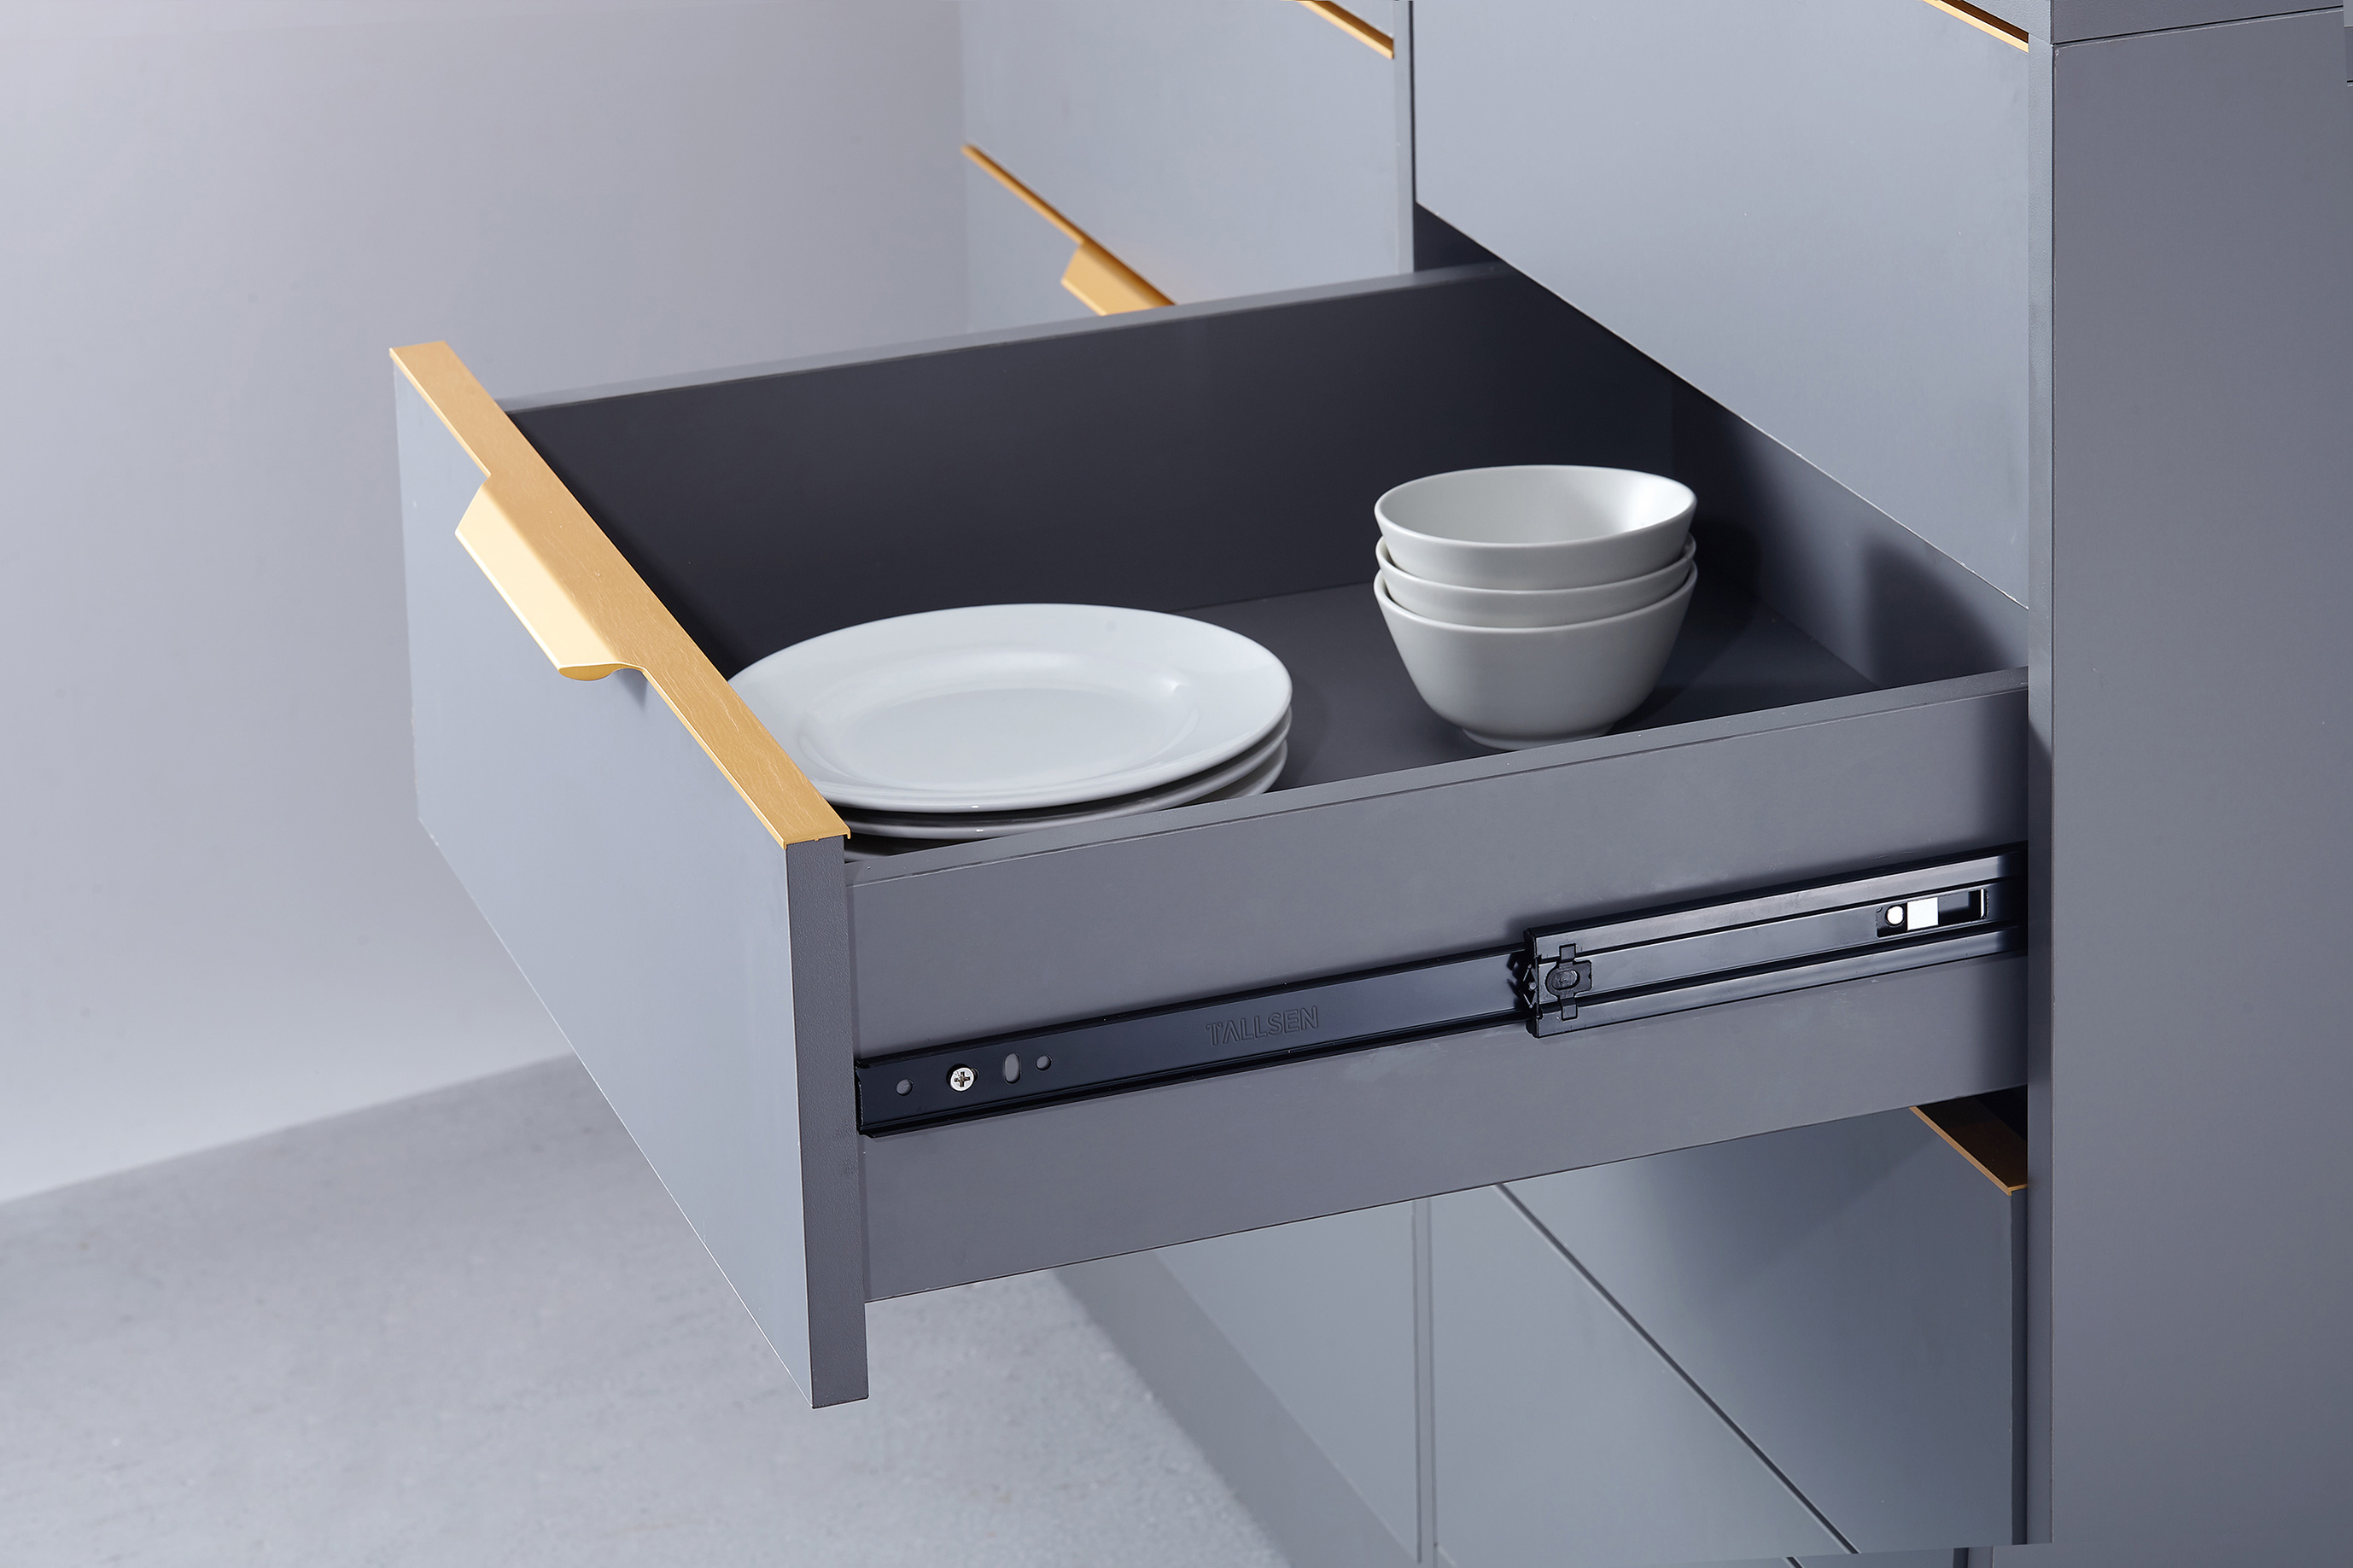
Credit: www.cabinetjoint.com
Gather Necessary Tools And Materials
Gathering the right tools and materials helps fix kitchen cabinet drawer slides smoothly. Having everything ready saves time and avoids frustration. This step ensures the repair goes well and lasts longer.
Essential Tools For The Job
- Screwdriver set (both flathead and Phillips)
- Power drill with drill bits
- Measuring tape or ruler
- Level tool to check alignment
- Pliers for gripping and adjusting parts
- Hammer for minor adjustments
- Utility knife for cutting materials
Replacement Parts And Lubricants
- New drawer slides matching cabinet size
- Replacement screws and mounting hardware
- Silicone spray or graphite lubricant
- Cleaning cloth to wipe dust and debris
- Wood filler or putty for damaged areas
Remove The Drawer Safely
Removing the kitchen cabinet drawer safely is crucial to avoid damage. Proper handling prevents harm to the drawer and the slides. This step ensures smooth repair or replacement of the drawer slides. Follow careful steps to detach the drawer without trouble.
Unlocking And Detaching The Drawer
Start by fully opening the drawer. Look for locking clips or levers on the drawer slides. Press or lift these clips gently to release the drawer. Hold the drawer firmly and pull it straight out. Avoid twisting or forcing the drawer to prevent damage.
Handling Delicate Components
Cabinet drawers have delicate parts like clips and rails. Handle these parts with care to avoid breakage. Place the drawer on a soft surface to protect it. Keep screws and small parts in a safe container. Inspect the slides for damage before reinstallation.

Credit: www.familyhandyman.com
Clean And Lubricate Slides
Cleaning and lubricating kitchen cabinet drawer slides keeps them working smoothly. Dirt and dust build-up can block drawer movement and cause squeaks. Regular maintenance stops these problems early. It also extends the life of your cabinet hardware.
Remove Dirt And Debris
Start by pulling out the drawer completely. Use a soft brush or cloth to remove loose dirt and dust. Check inside the slide tracks for crumbs or sticky residue. A vacuum cleaner with a narrow nozzle helps remove hidden debris. Wipe the slides with a damp cloth to clear stubborn grime. Let the slides dry fully before adding lubricant.
Apply Proper Lubrication
Choose a lubricant made for metal drawer slides. Avoid thick grease that attracts dirt. Spray or apply a small amount evenly along the entire slide length. Move the drawer back and forth several times to spread the lubricant. Wipe away any excess to prevent build-up. Proper lubrication reduces friction and noise, making drawers glide easily again.
Fix Alignment Problems
Fixing alignment problems in kitchen cabinet drawer slides ensures smooth operation. Misaligned slides cause drawers to stick or not close properly. Correcting these issues improves drawer function and extends hardware life.
Adjust Slide Position
Check if the drawer slides are straight and level. Slightly loosen screws holding the slides to the cabinet. Move the slides up, down, or sideways to align perfectly with the drawer. Tighten screws after adjustment. Test the drawer by sliding it in and out. Repeat until the drawer moves smoothly without resistance.
Secure Screws And Mounting Hardware
Loose screws cause slides to shift and misalign. Use a screwdriver to tighten all screws on both slides and drawer sides. Replace any stripped or damaged screws with new ones. Make sure mounting brackets are firmly attached and not bent. Secure hardware maintains proper alignment and prevents future issues.
Replace Damaged Slides
Replacing damaged kitchen cabinet drawer slides can bring smooth operation back to your drawers. Over time, slides may warp, bend, or break, making your drawers hard to open or close. Swapping out faulty slides is a straightforward fix that saves you from buying new cabinets.
Choose Compatible Replacement Slides
Start by identifying the type and size of your current drawer slides. Slides come in various styles like side-mount, under-mount, or center-mount, and choosing the wrong type can lead to fitting problems.
Measure the length of the existing slides carefully. If your drawer slides are 12 inches long, for example, replacement slides should match that length exactly. Also, check the weight rating to ensure they can support your drawer’s load.
Consider the material too. Steel slides offer durability, while plastic ones might be cheaper but less reliable. Think about how often you use the drawer and how much weight it carries before deciding.
Step-by-step Installation Guide
Begin by removing the drawer from the cabinet. Pull it out fully and look underneath to find the screws holding the slides.
- Unscrew the damaged slides from both the drawer and the cabinet frame.
- Clean the area to remove any dirt or debris that might interfere with the new installation.
- Align the new slides with the original mounting holes to avoid drilling new ones.
- Attach one side of the slide to the cabinet and the other side to the drawer carefully.
- Slide the drawer back in to test the fit and movement.
Does the drawer glide smoothly without sticking? If not, slightly adjust the screws or check if the slides are perfectly aligned. Sometimes, a minor tweak can make a big difference.
Replacing drawer slides might seem technical, but with the right tools and careful steps, you can handle it yourself. Have you ever fixed a drawer slide and noticed how much easier your kitchen tasks became? Your kitchen deserves this simple upgrade.
Test Drawer Functionality
Test Drawer Functionality Kitchen cabinet drawer slides can become sticky or misaligned over time. Clean the tracks and check for any obstructions. Tighten loose screws and ensure the slides are straight.
Testing drawer functionality is crucial in the repair process. After installing or adjusting drawer slides, ensure everything operates smoothly. This step confirms that your efforts have paid off and the drawer works as expected. Follow these key checks to guarantee optimal performance.Check Smooth Movement
Open and close the drawer several times. Pay attention to any resistance or sticking points. The drawer should glide effortlessly without jerking. Listen for any unusual sounds, such as scraping or grinding. These may indicate a misalignment or obstruction. Check if the drawer remains level during operation. Uneven movement can suggest that the slides need further adjustment.Make Final Adjustments
If issues persist, inspect the alignment of the slides. Ensure both sides are parallel and evenly mounted. Tighten any loose screws that may cause instability. Adjust the slides’ position slightly if needed to improve alignment. Verify the drawer’s balance by checking its front and back alignment. A balanced drawer enhances smooth operation and prevents future issues.Prevent Future Drawer Issues
Preventing future issues with your kitchen cabinet drawer slides saves you time and hassle. Small habits and simple checks can keep your drawers running smoothly for years. Paying attention to how you use and care for your drawers makes a big difference.
Regular Maintenance Tips
Check your drawer slides every few months for dirt or debris. Dust and crumbs can build up and cause the slides to stick or grind. Wiping them clean with a damp cloth and drying thoroughly can prevent this problem.
Apply a small amount of lubricant specifically designed for drawer slides to keep them gliding smoothly. Avoid heavy oils that attract dirt and cause buildup. Have you noticed a drawer that suddenly feels rough? A quick lubrication might be the fix you need.
Avoid Overloading Drawers
Overloading is a common cause of drawer slide damage. Each slide has a weight limit, and exceeding it stresses the mechanism, causing warping or misalignment.
Think about how you organize your drawers. Could redistributing heavy items lighten the load? For example, place pots and pans in lower cabinets or use shelves designed for heavier storage.
- Keep heavy items in the bottom drawers to reduce strain.
- Distribute weight evenly across the drawer space.
- Remove unnecessary items to lighten the load.
By keeping your drawers within their weight limits, you avoid many common problems before they start. What’s the heaviest item in your drawer right now? Could moving it prevent future issues?
Frequently Asked Questions
How Do I Fix A Stuck Kitchen Cabinet Drawer Slide?
To fix a stuck drawer slide, first remove the drawer. Clean the slides and lubricate them with silicone spray. Check for damage and realign the slides if needed. Reinsert the drawer and test the movement for smooth operation.
What Tools Are Needed To Repair Drawer Slides?
You need a screwdriver, lubricant, cleaning cloth, measuring tape, and replacement screws or slides. These tools help you remove, clean, adjust, and reinstall drawer slides efficiently and accurately.
Why Does My Kitchen Drawer Slide Get Stuck Frequently?
Frequent sticking is often due to dirt buildup, misalignment, or worn-out slides. Regular cleaning and lubrication help prevent sticking. If damage is severe, consider replacing the slides for smooth operation.
Can I Replace Kitchen Cabinet Drawer Slides Myself?
Yes, you can replace drawer slides yourself with basic tools. Measure the existing slides, buy matching replacements, remove old slides, and install new ones. Follow manufacturer instructions for best results.
Conclusion
Fixing kitchen cabinet drawer slides is easier than it seems. Small steps like tightening screws or cleaning tracks help a lot. A smooth drawer saves time and keeps your kitchen neat. Regular checks prevent bigger problems later. Take your time and follow each step carefully.
You don’t need special tools, just patience and a little effort. Enjoy your well-working drawers and a more organized kitchen. Simple fixes can make a big difference every day.


